Step by Step Process to Know How BKF Repair Tool Works?
BKF Repair tool is very simple to use. It only takes 4 SIMPLE STEPS to Repair Corrupted NTBackup Files
Step 1:
As you open and launch the BKF repair tool, following screen will appear

Next, click on "Scan File " button and a window pop-up with multiple scanning options in it.
Quick Scan: Instant scanning of a large BKF file to recover minimum corruption within backup file.
Deep Scan: Dual phase scanning of BKF file to repair severely damaged windows backup file
Range based scan: Selective scanning of large BKF file to repair & recover specific part of a file

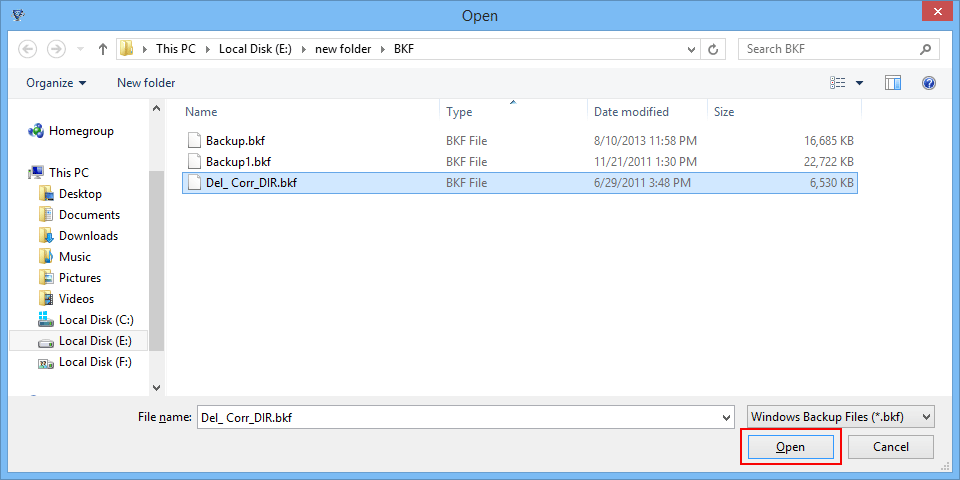
After this, seclect the BKF file by browsing the location and click open, as shown below:

Step.2:
After the selection of BKF file, choose the approriate scanning mode and Click to scan

The scanning proceed as below and shows the complete status repair alongwith, as shown below

Step.3:
As the recovery completes, following screen appears and you can expand the folder with a Tree like structure and view individual file. Next, you can right clinc of single file and click on "Extract File" to save the file on your local machine

Else, you can extract the entire BKF file to save it with following export options, like:
"Extract at Original location and Extract at selected location"
Select the desirable location to save the file locally and click "Extract" to continue

As the extraction finishes, the following alert message will appear

Download BKF Repair Tool
Demo version of BKF Repairsoftware support to preview the recovery and display the BKF files / folders, but do not allow to extract or save those files to their computer system. To save & extract bkf file, Order FULL version of BKF Repair tool.
